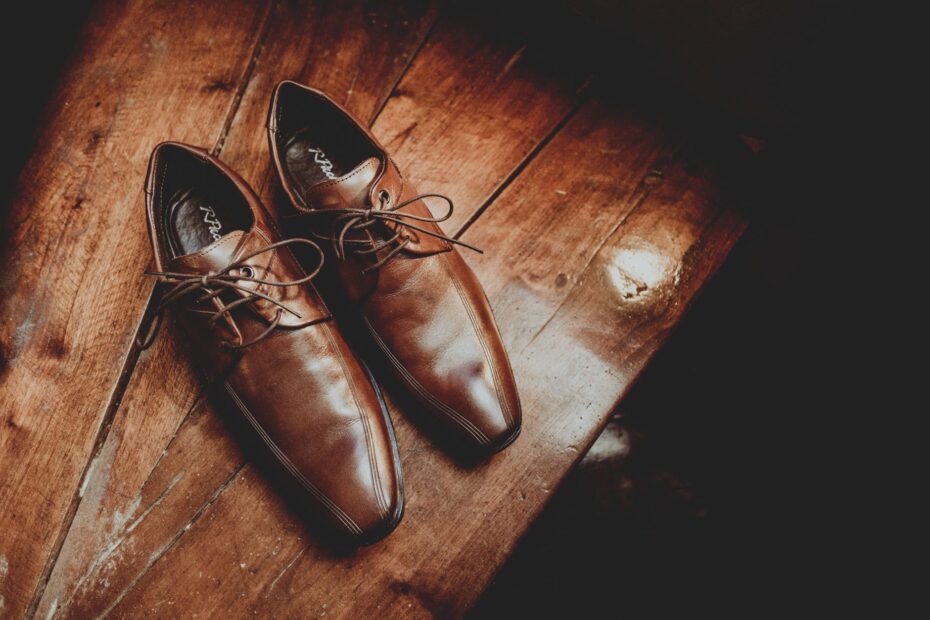
Start with a soft brush to clear dry crystals, then wipe smooth leather with a barely damp microfiber cloth and use equal parts white vinegar and distilled water on stubborn residue. Dry the pair at room temperature, then add leather conditioner after the leather feels fully dry.
You’ll learn how to identify salt bloom, match care to your shoe material, handle returning rings, and reduce winter exposure from road salt.
Salt Residue Can Dry and Stiffen Leather
White chalk on a toe, vamp, or welt is mineral residue left after wet slush dries. Road salt dissolves in snowmelt, enters leather with the water, and remains behind as moisture leaves your shoes.
That residue draws moisture from the leather surface. Over repeated wet-dry cycles, your shoes may feel stiff at toe creases, ankle bends, and stitched welt edges.
Salt Has a Powdery Pattern
Salt bloom looks dry, pale, and chalky. It may form a narrow ring along a seam, a flex crease, or the edge above the outsole.
A scuff looks scraped or flattened rather than powdery. Dried water rings have a darker edge, wax residue feels slick and cloudy, and finish damage exposes a dull layer beneath the colored coating.
Mold has a fuzzy or spotty surface and may carry a musty odor. Your cleaning method needs to match the mark, since vinegar will not restore peeled finish or remove a deep abrasion.
Salt Can Rise Back to the Surface
Salt does not always remain on top of the leather. As a damp shoe dries, dissolved minerals can travel outward with moisture and leave another pale ring.
A returning mark does not mean your earlier cleaning failed. Use another restrained pass after full drying rather than scrubbing harder or soaking the area.
Stop before cleaning a mark that looks sticky, fuzzy, flaky, or peeled. Your shoe may have wax buildup, mold, or finish loss rather than salt residue.
That diagnosis shapes the next choice. Leather type and finish decide how much moisture your shoe can handle without darkening or marking.
Material Type Sets the Moisture Limit
Smooth finished leather handles a lightly damp cloth better than suede or nubuck. Check the tongue, heel counter, box label, or a hidden inside edge before moisture touches a visible panel.
| Material or finish | Low-moisture response | Primary concern |
|---|---|---|
| Smooth finished leather | Microfiber cloth, distilled water, then diluted white vinegar for stubborn residue | Excess water can leave rings |
| Suede | Suede brush and suede eraser before specialty cleaner | Liquid can darken and flatten the nap |
| Nubuck | Nubuck brush, eraser, or material-specific cleaner | Moisture can leave uneven dark patches |
| Unfinished leather | Dry brushing and professional shoe repair for visible marks | Leather absorbs liquid quickly |
| Patent leather | Dry cloth followed by a barely damp cloth | Vinegar can dull the coated shine |
| Mixed-material footwear | Clean each panel with material-specific care | Leather, fabric, rubber, and trim react differently |
Preparation Limits Accidental Marks
Remove laces where they cross stained leather, then lift loose salt with a soft-bristle brush or clean microfiber cloth. Dry brushing matters because salt crystals and road grit can scratch the finish once moisture is added.
- Check dye transfer. Rub a dry white cloth along a hidden edge and stop if color reaches the cloth.
- Inspect weak areas. Pause around cracks, peeling color, loose stitching, and brittle folds before using any liquid.
- Use distilled water. Distilled water leaves less mineral residue than hard tap water on dark leather.
- Spot-check liquids. Dab a concealed area, allow it to dry, and inspect for darkening or color shift.
- Separate panels. Keep vinegar solution away from suede trims, canvas, raw leather, and fabric linings.
Delicate vintage shoes, cracked leather, and unstable dye need professional shoe repair. Your caution here can prevent a small salt mark from becoming a larger finish problem.
Once the finish can tolerate limited moisture, a restrained cleaning method can dissolve residue without spreading it.
Controlled Cleaning Lifts Salt From Smooth Leather
A cleaning cloth should feel damp, not wet enough to drip. That small amount of moisture keeps cleaning near the surface instead of pushing water deeper into the leather.
Light Passes Lift Fresh Residue
Start with distilled water for light marks. Fold a microfiber cloth into a small pad, dampen one corner, and wipe with short strokes that follow the leather grain.
Blot with a dry part of the cloth after each pass. The leather should look evenly damp for a moment, never soaked or darkened in isolated spots.
- Dampen the cloth. Wring the microfiber cloth firmly until no water falls from the fabric.
- Wipe with light pressure. Lift residue with short strokes rather than hard pressure or circular scrubbing.
- Cover the panel. Wipe beyond the pale ring across the full toe cap, quarter, or other affected leather section.
- Blot the moisture. Press a dry cloth against the leather without rubbing the cleaned area.
- Check after drying. Watch for returning white crystals before adding another cleaning pass.
For example, a white line across a black derby toe cap needs attention across the full toe cap. Cleaning only the chalky edge can leave a darker water boundary around the spot.
Diluted Vinegar Handles Stubborn Mineral Marks
Persistent white residue on smooth leather responds to equal parts white vinegar and distilled water. Vinegar helps loosen mineral deposits, while distilled water reduces the chance of adding more minerals to the surface.
Put the mixture on the cloth rather than directly on the shoe. Work across the full affected panel, such as an entire black boot vamp, instead of tracing only the white line.
You can use a pH-balanced leather cleaner instead of vinegar on shoes with a sensitive finish, provided the label names smooth leather. To remove salt stains from leather shoes without a strong vinegar odor, keep the cloth lightly damp and limit the number of passes.
Color transfer, peeling, or sudden darkening means the surface is not tolerating moisture well. Stop there, blot the area, and allow the shoe to dry before choosing professional care.
Room-Temperature Drying Protects Shape and Finish
Leather can feel firm after water and vinegar evaporate because the fibers have lost surface oils. Room-temperature drying gives the material time to settle without the stress of concentrated heat.
Paper Holds the Shoe Shape
Blot cleaned panels, then loosely fill each shoe with plain white paper or a clean shoe tree. The filling holds the toe box open and absorbs stray moisture from inside the shoe.
Skip newspaper. Damp ink can transfer to pale linings, especially around the toe box and heel counter.
- Use plain white paper. Loosely packed paper supports the upper without stretching the leather.
- Leave room for air. Tight packing slows drying and can distort a soft toe box.
- Keep pairs upright. An upright pair allows moisture to leave more evenly from the vamp and quarters.
- Choose open air. A dry indoor spot gives the leather a steady drying environment.
Set shoes away from radiators, heating vents, hair dryers, direct sunlight, and car dashboards. Fast heat can shrink leather, tighten stitching, and leave a flexible vamp stiff at the bend.
Conditioning Follows Full Drying
Wait until the leather feels dry at the seams and inside the toe box before using conditioner. A small amount of leather conditioner restores slip between fibers after salt exposure and reduces the dry, papery feel left after cleaning.
Saphir Renovateur contains waxes and conditioning ingredients suited to polished smooth leathers. Bickmore Bick 4 leaves a lighter finish, while Lexol Leather Conditioner and Leather Honey suit leather that feels noticeably dry.
Use a pea-sized amount on one panel with a soft cloth, then buff away excess after it settles. Heavy coats can leave a waxy haze that resembles white residue under indoor light.
Your choice should match the shoe’s finish and color. Patent leather, suede, nubuck, and unfinished leather need material-specific products rather than standard smooth-leather conditioner.
Suede, Nubuck, and Returning Rings Need Slower Care
Napped leather needs dry care before liquid care. Suede and nubuck hold salt among raised fibers, so a wet cloth can spread residue while flattening the texture.
Dry Tools Protect the Nap
Brush suede after the shoe is fully dry. Short, light strokes lift loose salt and raise the nap without grinding crystals deeper into the surface.
Use a suede eraser on small remaining marks, working only over the pale area. A suitable specialty cleaner belongs only after brushing and erasing leave visible residue behind.
Saturating suede or nubuck can leave a dark bloom around the cleaned spot. The smooth-leather vinegar method does not belong on either material.
Returning Marks Need Another Mild Pass
A recurring ring on smooth leather signals that salt is still moving outward as the shoe dries. Repeat one restrained cleaning pass slightly beyond the ring, then air dry the pair again.
Two mild passes are safer than one soaked treatment. Your aim is even moisture across the panel, not a wet spot directly over the residue.
- Uneven darkening. Stop adding moisture and allow the full panel to dry before judging the final color.
- Vinegar odor. Leave shoes in a ventilated room until dry and avoid storing them in a closed box.
- Color transfer. Stop at once after dye reaches the cloth, especially near seams, edges, and flex points.
- Stubborn discoloration. Seek professional shoe repair for costly, vintage, or deeply stained footwear.
Example: a tan suede ankle boot with a white line near the sole needs brushing and erasing rather than vinegar. A black smooth-leather boot with a recurring pale ankle ring can take a restrained diluted-vinegar pass after complete drying.
Because repeat treatments gradually stress delicate finishes, limiting fresh salt contact is easier than correcting each new ring.
A Winter Routine Reduces Road Salt Exposure
Salt causes less trouble when it spends less time on your shoes. A two-minute wipe-down after a slushy walk removes wet road salt before it sits near seams, flex points, and welt stitching.
Small Habits Limit Repeated Contact
- Wipe after each wear. Remove slush with a dry cloth, then lightly wipe smooth leather where salt landed.
- Dry between wears. Give each pair a full room-temperature drying period before the next outing.
- Rotate pairs. Alternating shoes limits repeated wetting at the same toe bends and ankle creases.
- Condition dry leather. Add conditioner after cleaning once smooth leather feels dry or stiff.
- Inspect welt edges. Salt gathers around stitching, sole seams, and the area above the outsole.
This routine helps prevent winter salt damage to leather footwear because residue has less time to dry inside seams and creases. Your shoes still need occasional closer inspection after deep slush or a walk through heavily salted streets.
Waterproofing Slows Water Entry
On treated leather, a compatible spray can slow water entry, but it cannot prevent brine from drying on the surface. Kiwi Protect-All suits compatible smooth-leather footwear, while Apple Brand Garde Rain & Stain Repellent is intended for suede and nubuck.
Spray protectants on clean, dry shoes in a ventilated area and follow the label’s drying instructions. Your wipe-down routine still matters because a barrier limits moisture absorption but does not remove road salt.
Final Thoughts
White salt bloom is manageable in many cases, but restraint protects the leather. Start with dry brushing, use little moisture on smooth leather, air dry the pair, and condition only after the leather has settled.
Suede, nubuck, cracked finishes, unstable color, and deep stains deserve slower care or professional shoe repair. Your shoes will stay more flexible through winter when salt does not sit overnight.
FAQ
White vinegar and salt stains on leather shoes
White vinegar loosens persistent mineral residue on smooth, finished leather when mixed with equal parts distilled water. Your cloth should be lightly damp, and a hidden-area check belongs before visible cleaning. Keep vinegar away from suede, nubuck, patent leather, and unfinished leather.
White salt marks on leather boots
Once the boots are dry, brush away crystals, wipe smooth leather with a barely damp microfiber cloth, then use diluted vinegar for stubborn white marks. Cover the whole affected leather panel rather than only the ring. Your boot should air dry at room temperature before conditioning.
Long-term damage from salt stains
Salt marks do not always leave lasting damage, but residue left through repeated wet-dry cycles can dry leather and leave it stiff. Your quick cleanup limits that exposure. Cracking, peeling color, and deep discoloration point to damage beyond a surface salt stain.
Leather conditioning after salt cleanup
You should condition smooth leather after it has dried fully from cleaning. Water and vinegar can leave leather less supple, especially at toe creases and ankle bends. A thin coat of compatible leather conditioner restores flexibility without leaving a greasy surface.
Salt marks on suede shoes
After the shoe dries, a suede brush and suede eraser can lift many surface salt marks. Keep liquid to a minimum because soaked suede can darken and lose its raised texture. Persistent marks need a suede-specific cleaner or professional shoe repair.